DIY Wooden Dowel Rod Crafts for Kids: Fun and Easy Projects
There is no better way to spend an afternoon than using your imagination and creativity to make a work of art.
There are hundreds of different craft projects that you and your kids can try at home that will provide an afternoon of fun and brain power. The Midwest Dowel team is always impressed by the creativity our loyal customers display using wooden dowel rods for their DIY crafts.
Crafting with kids can be a whole lot of fun, but it can be tough to know where to get started.
For this post, Midwest Dowel has put together some of our favorite wood dowel crafts perfect for children of all ages. We will walk you through projects as simple as wood painting, to more advanced projects like wooden toy making.
Try These Wooden Dowel Rod DIY Projects with Your Kids!
There are all kinds of DIY crafts and fun projects you can create out of wood dowels with your kids!
Check out a few of our favorite classic wooden dowel projects for beginners to our most seasoned crafters.

Wooden Dowel Puppet Sticks
One of the most classic DIY crafts you can make this simple craft for kids is perfect for a fun project on a boring day!
What you will need:
- 2 - 1" x 12" Wooden Dowels (one long and one short)
- 1 - 3” diameter wooden ball
- Fabric or felt
- Glue
- Scissors
- A marker
Step 1: Mark the longer wood dowel in the center with the marker
Step 2: Apply glue to one end of the dowel and attach it to the center mark of the long dowel
Step 3: Wait for the glue to dry (this is the perfect time to grab a snack or go for a short walk)
Step 4: Cut out the felt in the shape of the puppet’s clothes, arms, and legs
Step 5: Glue the body and legs of the puppet on to the longer dowel
Step 6: Glue the arms onto the shorter dowel
Step 7: Glue the wooden ball on to the top of the shorter dowel where it meets the longer dowel
Step 8: Use your marker to decorate the puppet’s face, clothes, and other accessories
Step 9: Bring your puppet to life with a little bit of imagination! Enjoy!
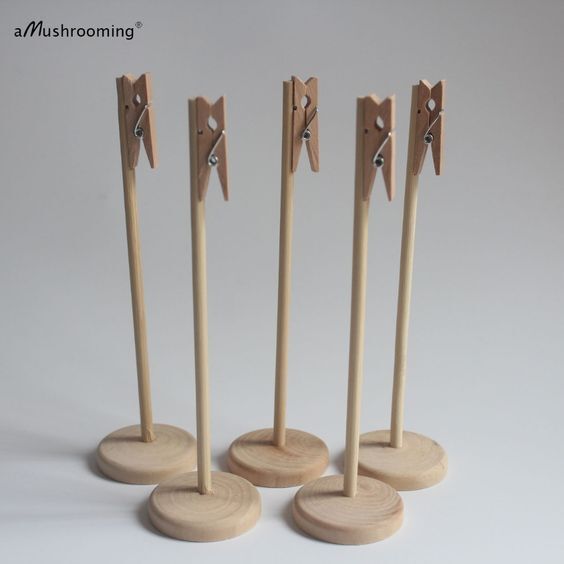
Wood Dowel Photo Holder
Another fun project for kids and adults alike, the wood dowel photo holder is an exciting way to spend an afternoon, and it makes for a great gift for mom or dad when it’s all done.
What you will need:
- 4 - 1” x 6” wooden dowels
- A saw or scissors (adult supervision required!)
- Sandpaper
- Glue
- Clothespins
- Paint or markers (optional)
Step 1: How big will your frame be? Choose a size and cut your dowels to the proper length! (Hint: if you pick the size of your photo first, it will make things easier)
Step 2: Sand the edges of the freshly cut dowels to make them smooth
Step 3: Glue your dowels together in a triangle or square (you only need three dowels if you pick the triangle)
Step 4: Let the glue dry (Take some time to color or play outside while you wait!)
Step 5: Decorate the wood with paint or markers (only if you want to)
Step 6: Glue your clothes pins onto your frame, either in front or behind, both are fine
Step 7: Let the glue dry (again)
Step 8: Clip in a dazzling photo using the clothes pins and you’re ready to hang your beautiful creation
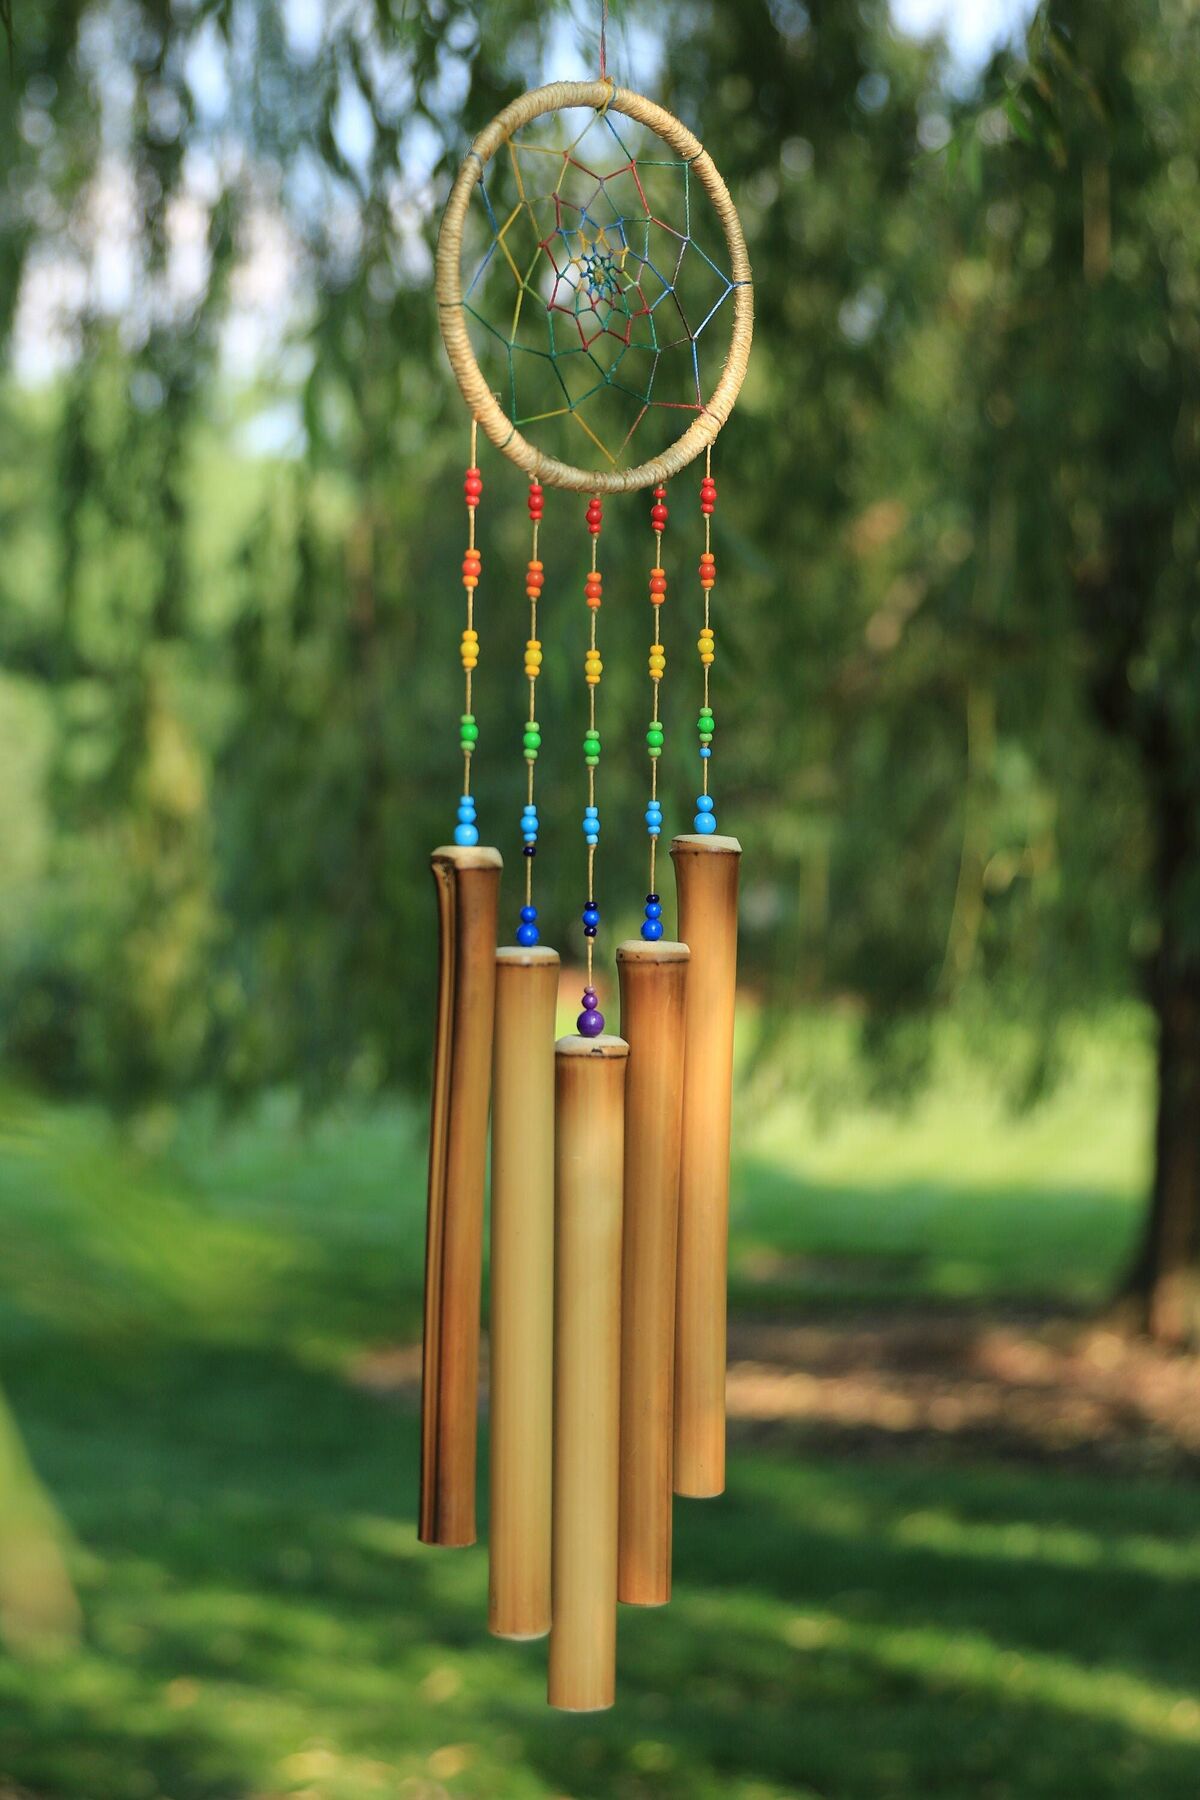
Wood Dowel Wind Chime Craft
Now this project is music to our ears! No, actually! The wooden wind chime project is a fun and engaging DIY craft that will have your kids use both their imagination and their ears! This one will need some adult supervision because it requires the use of a drill or hammer and nails! Nonetheless, this project is perfect for crafting with kids!
What you will need:
- 6 to 8 - 1”x36” wood dowels
- Sandpaper
- Drill or nails (adult supervision required!)
- Saw or scissors (adult supervision required!)
- Fishing line or string
- Beads
- Bells
- Markers or decorative elements (optional, it’s up to you!)
Step 1: How long will your wood chimes be? Will they all be the same length? Or different? Cut the wood chimes to your desired lengths to start. Use your saw and a stable surface (a vice or clamp will help here, if you have one)
Step 2: Smooth the edges of the dowels using sandpaper, we don’t want any splinters here
Step 3: Drill or nail a small hole near the top of each wood dowel, the hole should go all the way through
Step 4: Thread your string or finishing line all the way through the hole and tie a knot to keep it secure
Step 5: Add your beads to your string or fishing line
Step 6: Add your bells to the fishing line, tie knots to keep them in place
Step 7: Repeat steps 4-6 for each wood dowel
Step 8: Tie your dowels together at the top, just be sure to leave enough room for each dowel to hang in the wind
Step 9: Hang your finished wood chime in a breezy area to enjoy the sound of your dowels and bells tinkling gently in the wind
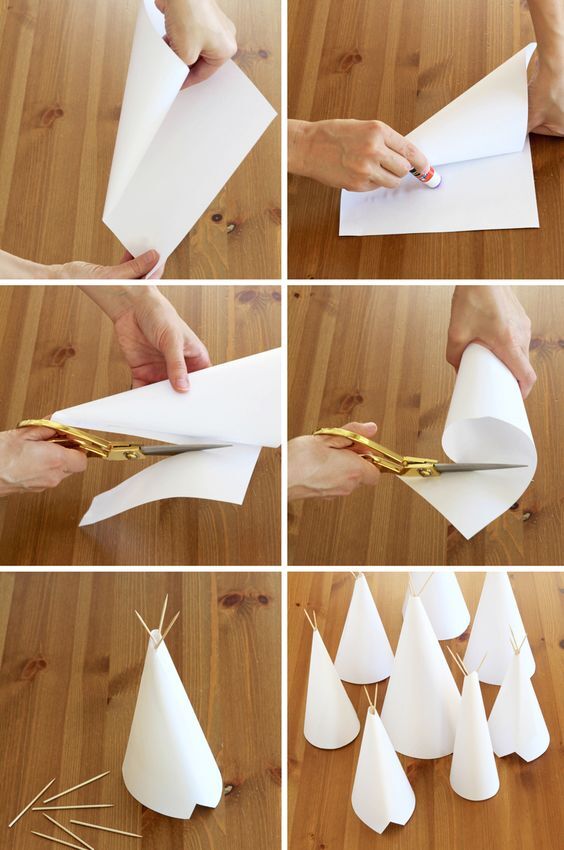
Mini Wood Dowel Teepee Project
Next on our DIY craft list is the mini wood dowel teepee. This project is ideal for older children looking to get into wooden toy making. This project involves the use of a hot glue gun, so again, adult supervision is recommended.
What you will need:
- 6 – ¾" x 12" wood dowels
- Twine
- Hot glue gun and compatible glue sticks
- Scissors
- Felt or cloth
- Small square of cardboard
Step 1: Lay out your six dowels and tie a knot ½ inch from the top of each using your twine
Step 2: Spread your dowels out so that they form a circle
Step 3: Stand the dowels up so they form a cone on your square of cardboard
Step 4: Using the hot glue gun, adhere the dowels to the cardboard
Step 5: Using the hot glue gun, glue the dowels together near the knot (for additional support)
Step 6: Cover the dowel frame with cloth or felt and glue as necessary to keep the covering secure
Step 7: Decorate your teepee as you see fit, and trim the cardboard to your preferred size
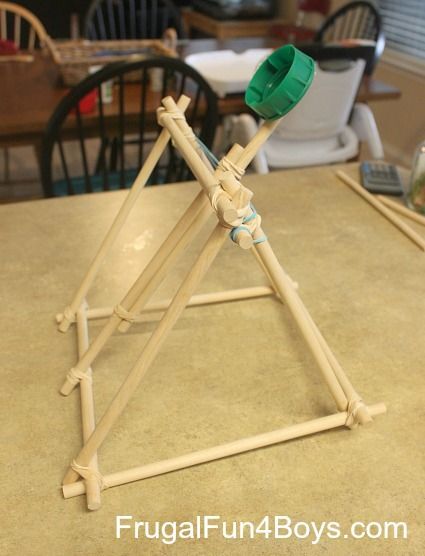
DIY Wooden Dowel Catapult
The wooden dowel catapult is our favorite wood dowel DIY project! This project will require a hot glue gun, so adult supervision is a must. This project is also recommended for older children, and a basic understanding of physics will be helpful.
What you will need:
- Five ½" x 12” wooden dowels
- Strong bag of rubber bands
- One plastic or wooden spoon
- A hot glue gun
- Scissors or a saw
- Small ball or pompom (to use as a projectile – nothing pointing or heavy!)
Step 1: Take two dowels and glue them together to form an X shape
Step 2: Take a third dowel and hot glue it in the center of the X shape, perpendicular to the other two dowels
Step 3: Cut the remaining two dowels in half, and hot glue one of the halves to each side of the center dowel, about 2 inches from the top.
Step 4: Take a rubber band and wrap it around the end of the dowel to make a triangle shape with the center dowel at the top
Step 5: Cut a small notch at the base of your spoon and hot glue it to the top of the center dowel
Step 6: After the glue has dried, load your projectile into the bowl of the spoon and pull the spoon back gently, release to fire.
Get the Dowels and Wood Components You Need for DIY Crafts from Midwest Dowel
Midwest Dowel has all the home craft supplies you need for DIY projects and beyond! We are the Midwest’s best wood dowel supplier located centrally in Cincinnati, Ohio.
With the push of a button on your computer smartphone, you can order the best wood dowels and other craft supplies perfect for all your DIY needs.
For wood dowels you can count on for fun projects and more, shop Midwest Dowel today!
Happy with the difference Midwest Dowel has made for your home craft needs? Leave us a quick five-star review here!
For more of the best DIY and wood dowel tips, follow Midwest Dowel on Facebook, and Twitter!


